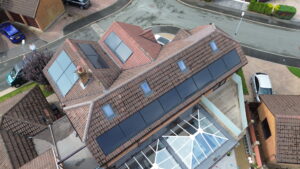
The Solar Installation Process should be easy and without stress. Investing in solar energy is a big decision, and many homeowners are curious about what happens between the initial enquiry and turning on their new system. Here’s a step‑by‑step look at how Flux handles installations, illustrated by our Wigan and Preston project.
Solar Installation Process Step 1 – Site survey & design
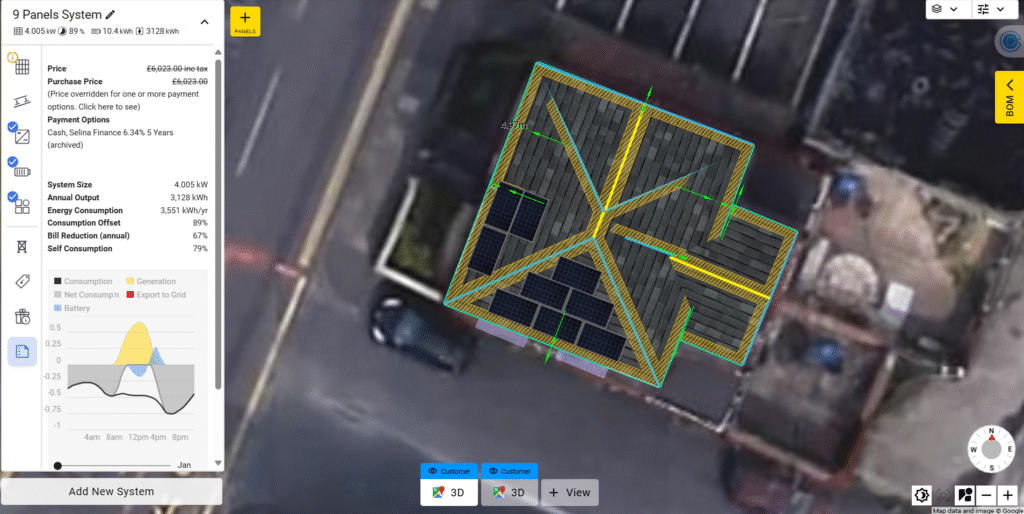
Every project begins with a free, no‑obligation survey. We assess roof size, orientation, pitch and shading to determine the optimal array layout. For Wigan, we proposed a dual‑aspect arrangement – south‑facing panels for midday generation and north‑east panels to extend output into the morning and evening. Our design software calculates estimated annual production and savings.
Solar Installation Process Step 2 – Quotation & paperwork
We prepare a detailed quotation outlining equipment, approval from the local grid network, warranties, estimated generation and financial payback. Once approved, we handle the paperwork for the Smart Export Guarantee and ensure eligibility for the 0 % VAT scheme. We also arrange any required permissions; most domestic systems fall under permitted development, so planning permission isn’t needed.
Solar Installation Process Step 3 – Installation day
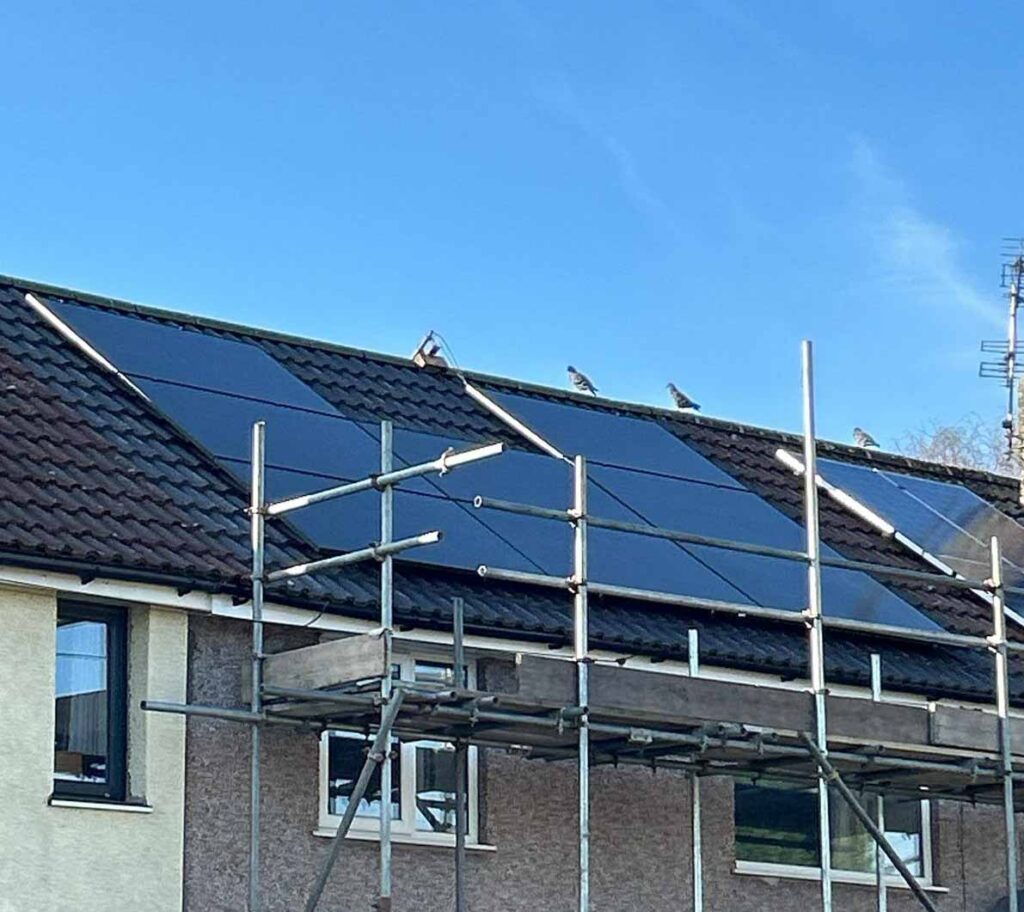
- Scaffolding & roof preparation – We erect scaffolding to provide safe roof access. Tiles are lifted to fit the mounting rails without damaging the roof.
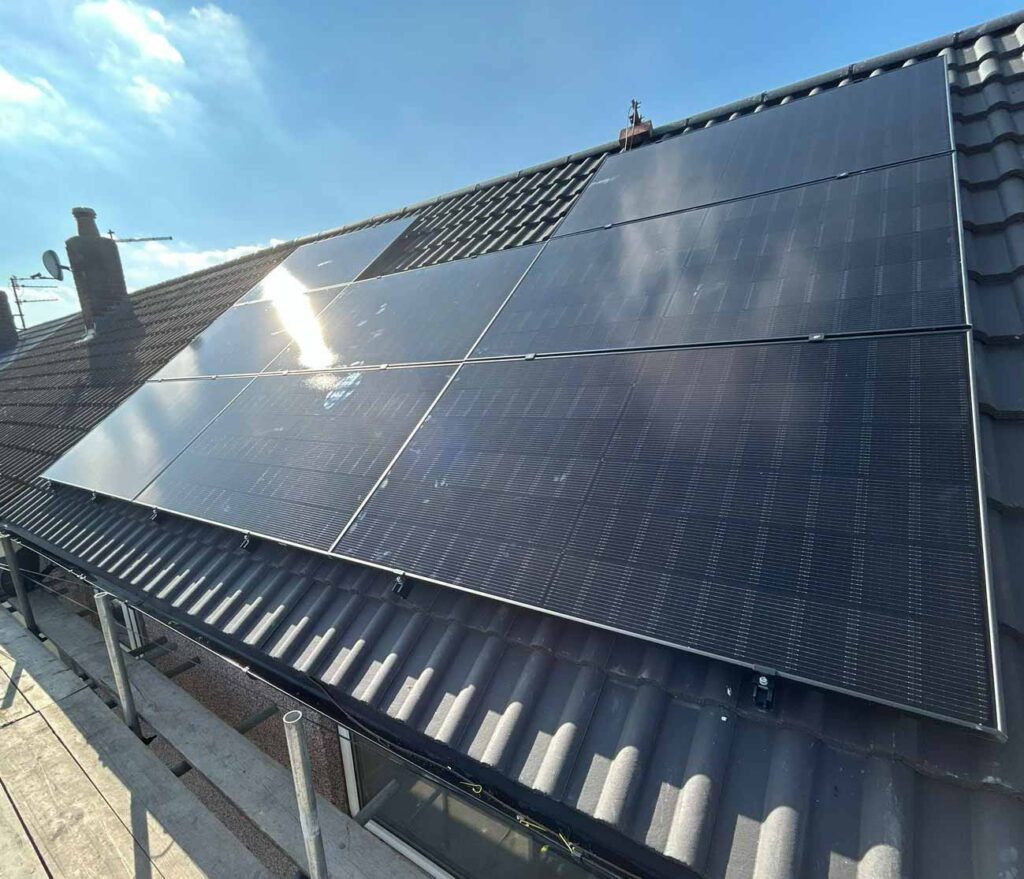
- Panel fitting – Panels are secured onto the rails and wired in strings. The dual‑aspect array in Wigan shows how modules can be installed on different roof faces to maximise generation.
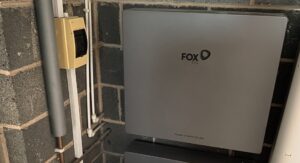
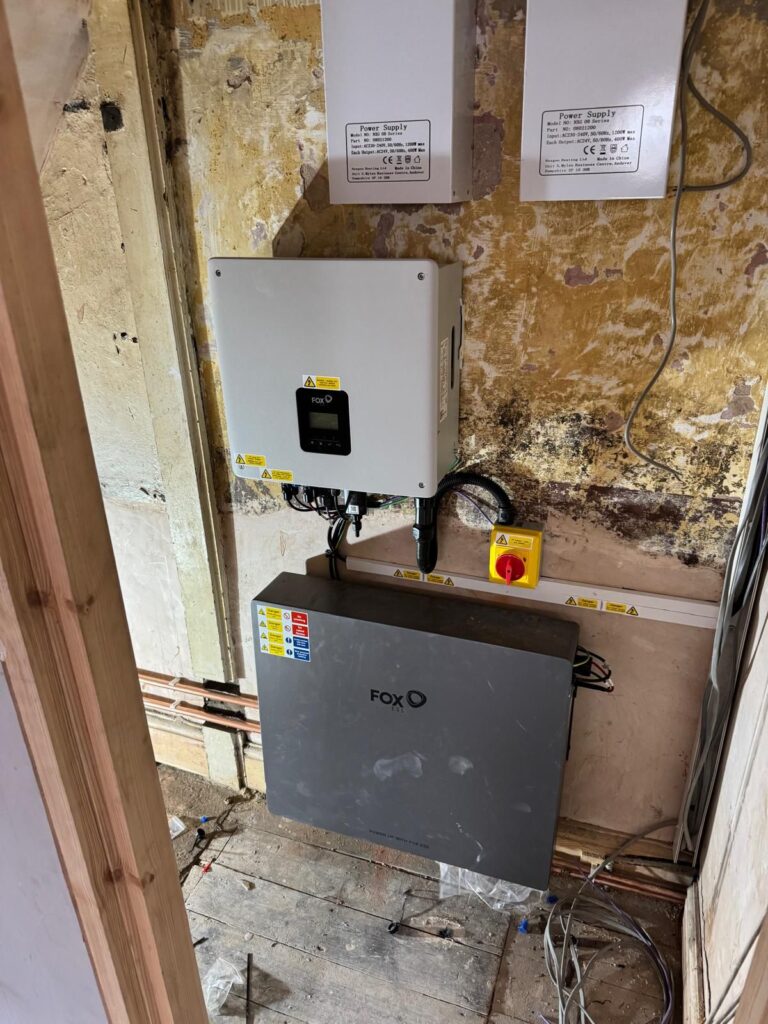
- Inverter & battery – We mount the inverter and battery in a suitable location, typically near the consumer unit or in a utility room. All wiring is neatly routed through conduit to maintain a tidy finish.
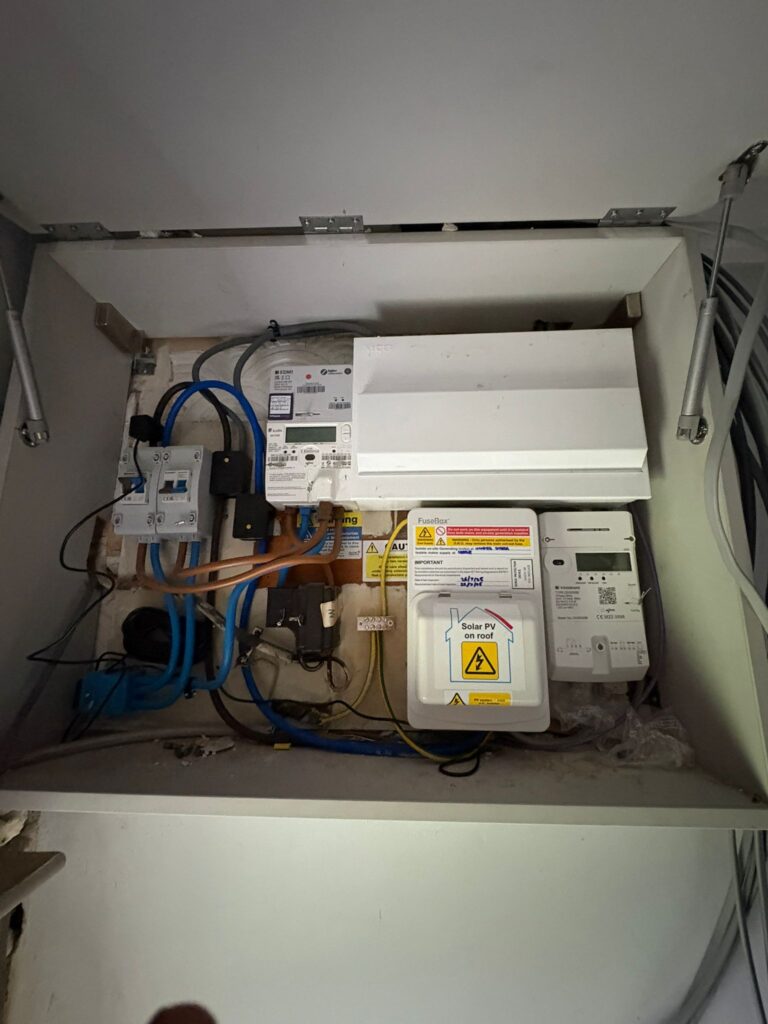
- Electrical connection – A qualified electrician connects the system to the consumer unit via a dedicated circuit. Protective devices and isolators are installed, and warning labels are added for safety.
Solar Installation Process Step 4 – Testing & commissioning
We test each component to ensure everything operates correctly and meets Microgeneration Certification Scheme (MCS) standards. The system is then commissioned, and we register it with your energy supplier so you can start earning SEG payments.
Final Step 5 – Handover & support
Finally, we provide a thorough handover, showing you how to monitor your system via a smartphone app and how to interpret the inverter display. We explain maintenance requirements (usually very little) and answer any questions. Our after‑sales support includes remote monitoring and an optional annual health check.
Why choose Flux Solar Energy?
- Certified installers – We are HIES and MCS accredited, so you can trust our workmanship.
- Transparent pricing – No hidden extras; your quotation covers everything from scaffolding to commissioning.
- Local expertise – Being based in Greater Manchester means we understand local planning rules and weather conditions.
- Long‑term support – Our commitment doesn’t end when the panels are fitted; we offer ongoing support and maintenance.
Interested in seeing how solar could work on your home? Contact us today for a free site survey and personalised quotation.


